 Blade balacing
This section presents a process to balance main rotor blades.
Main blades of an RC helicopter have a speed greater than 2000 rpm; so it is important to have balanced blades to avoid vibrations and to ensure a stable flight of the model.
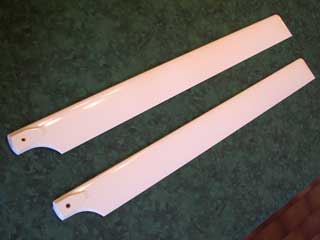
It's advisable to replace the two blades at the same time and to mount blades bought as a pair always. When you buy a pair of glass fiber or carbon fiber blades, they are generally already balanced. However it is recommended to check the blade balancing and to adjust it if necessary: this is what we will explain here.
All the process must be done on a horizontal and flat surface area.
- The first step is to locate the center of gravity for each blade.
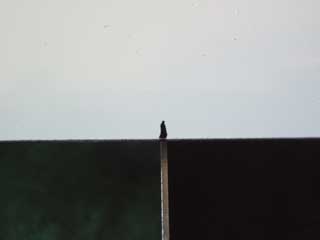
To do this you can use, for example, a joiners square held vertically,
then put the blade on the edge of the square and move it to the right or to the left until you find the balanced position.
Using a pen mark the balanced position on the blade: this is the position of the blade's center of gravity.
Locating the center of gravity
- Now we need to check that the center of gravity is almost at the same position on each blade.
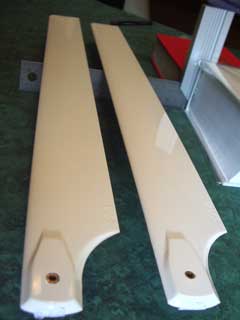
Bind blades together using a thread rod and check that marks facing each other (max 5mm space is tolerated).
If distance between two marks is too large (rarely happens) it is necessary to reduce this gap using the following procedure:
- Take the blade which has the centre of gravity nearest the blade grip.
- Put a ribbon (as described in the next step) on the end of the blade to move the center of gravity away from the blade grip.
- Locate and mark the new position of the center of gravity using the square.
- Compare the position of the center of gravity with the other blade.
- Reduce or increase the width of the ribbon until both centers of gravity match.
- Then stick the ribbon on the end of the blade.
- The second step is the balancing
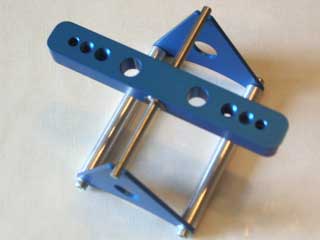
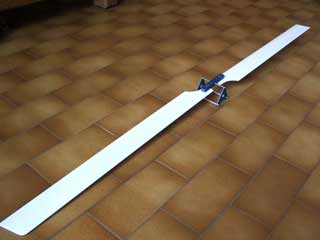
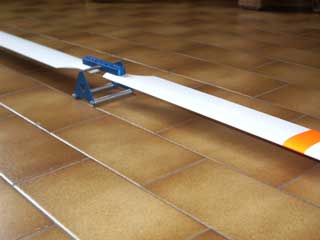
Mount the blades on a blade balancer.
(A blade balancer is an axle, mounted with ball bearing, on which we screw a blade on each end in order to check the blade balancing)
Screw blades under the axle to lower the mass and improve accuracy / stability.
If the balancer is not in horizontal position, it means that blades have not the same weight.
(Warning: the balancer doesn't need to be exactly in horizontal position to have blades well balanced, The most important is that the balancer should keep in balanced)
To adjust the balancing we need to add weight on the lightest blade. The weight is added at the position of the center of gravity (in order to not move the center of gravity).
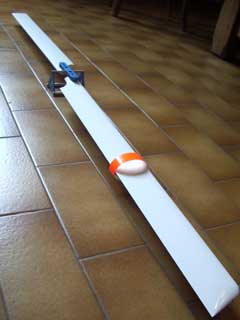
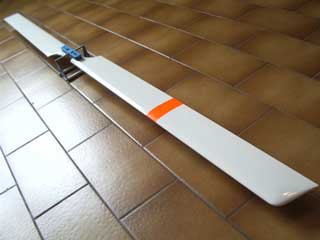
I use ORASTICK® (= adhesive ORACOVER®) all around the blade: from upper surface tailing edge to lower surface tailing edge. The width of the ribbon is adjusted according to the weight to add to have the well balancing.
- Cut an ORASTICK® ribbon having a length equal to two times the blade chord (blade width), and having width big enough to compensate the weight difference between the blades.
- Put the ribbon on the center of gravity of the lightest blade, don't stick it now.
- Now the blade should be lightly heavier than the other blade.
- Refined the ribbon width until to have a well blade balancing.
- When blades are balanced, stick the ribbon centrered on the center of gravity of the blade.
Blades are now balanced !
Finally it is interesting to remember which blade is mounted on which blade grip. This allows to keep heli settings (pitch, tracking, ...) unchanged in case of removing and putting back blades.
The blade grip having the "striped" blade is marked using ORASTICK® of the same color.


